On this page
Good Journaling
Why Journal?
You're building something new. Learning new skills, making mistakes, making decisions. When you look back at your project in a few years, you probably won't remember most of that.
Journaling is the keepsake of your journey. It's also a trove of knowledge others can learn from.
Without a journal, your steps are not documented. How did you piece this together? Why did you do X instead of Y? Journaling lets others glimpse your thought process and mistakes.
Reviewers use your journals too. After submitting your design, reviewers will check your work to make sure:
- Your decisions make sense
- Your work is original
- Your design meets the submission requirements
How to Journal
A good journal is a story. Your story.
You don't need perfect English or grammar. AI doesn't know your story, so it'll write bad journals. Don't use it.
Reviewers can tell when a journal is AI-generated, and AI-written journals are grounds for rejection. Write it yourself, even if you think your writing is bad. Honest beats polished.
Write one entry for each day's work or when you reach a milestone. Short and frequent beats long and sparse.
1. Explain your decisions, not just your actions
The most important part of a journal entry is explaining why, not just what. Every entry should answer:
- What did you do?
- Why did you do it?
- What problems did you face?
2. Screenshot and document everything
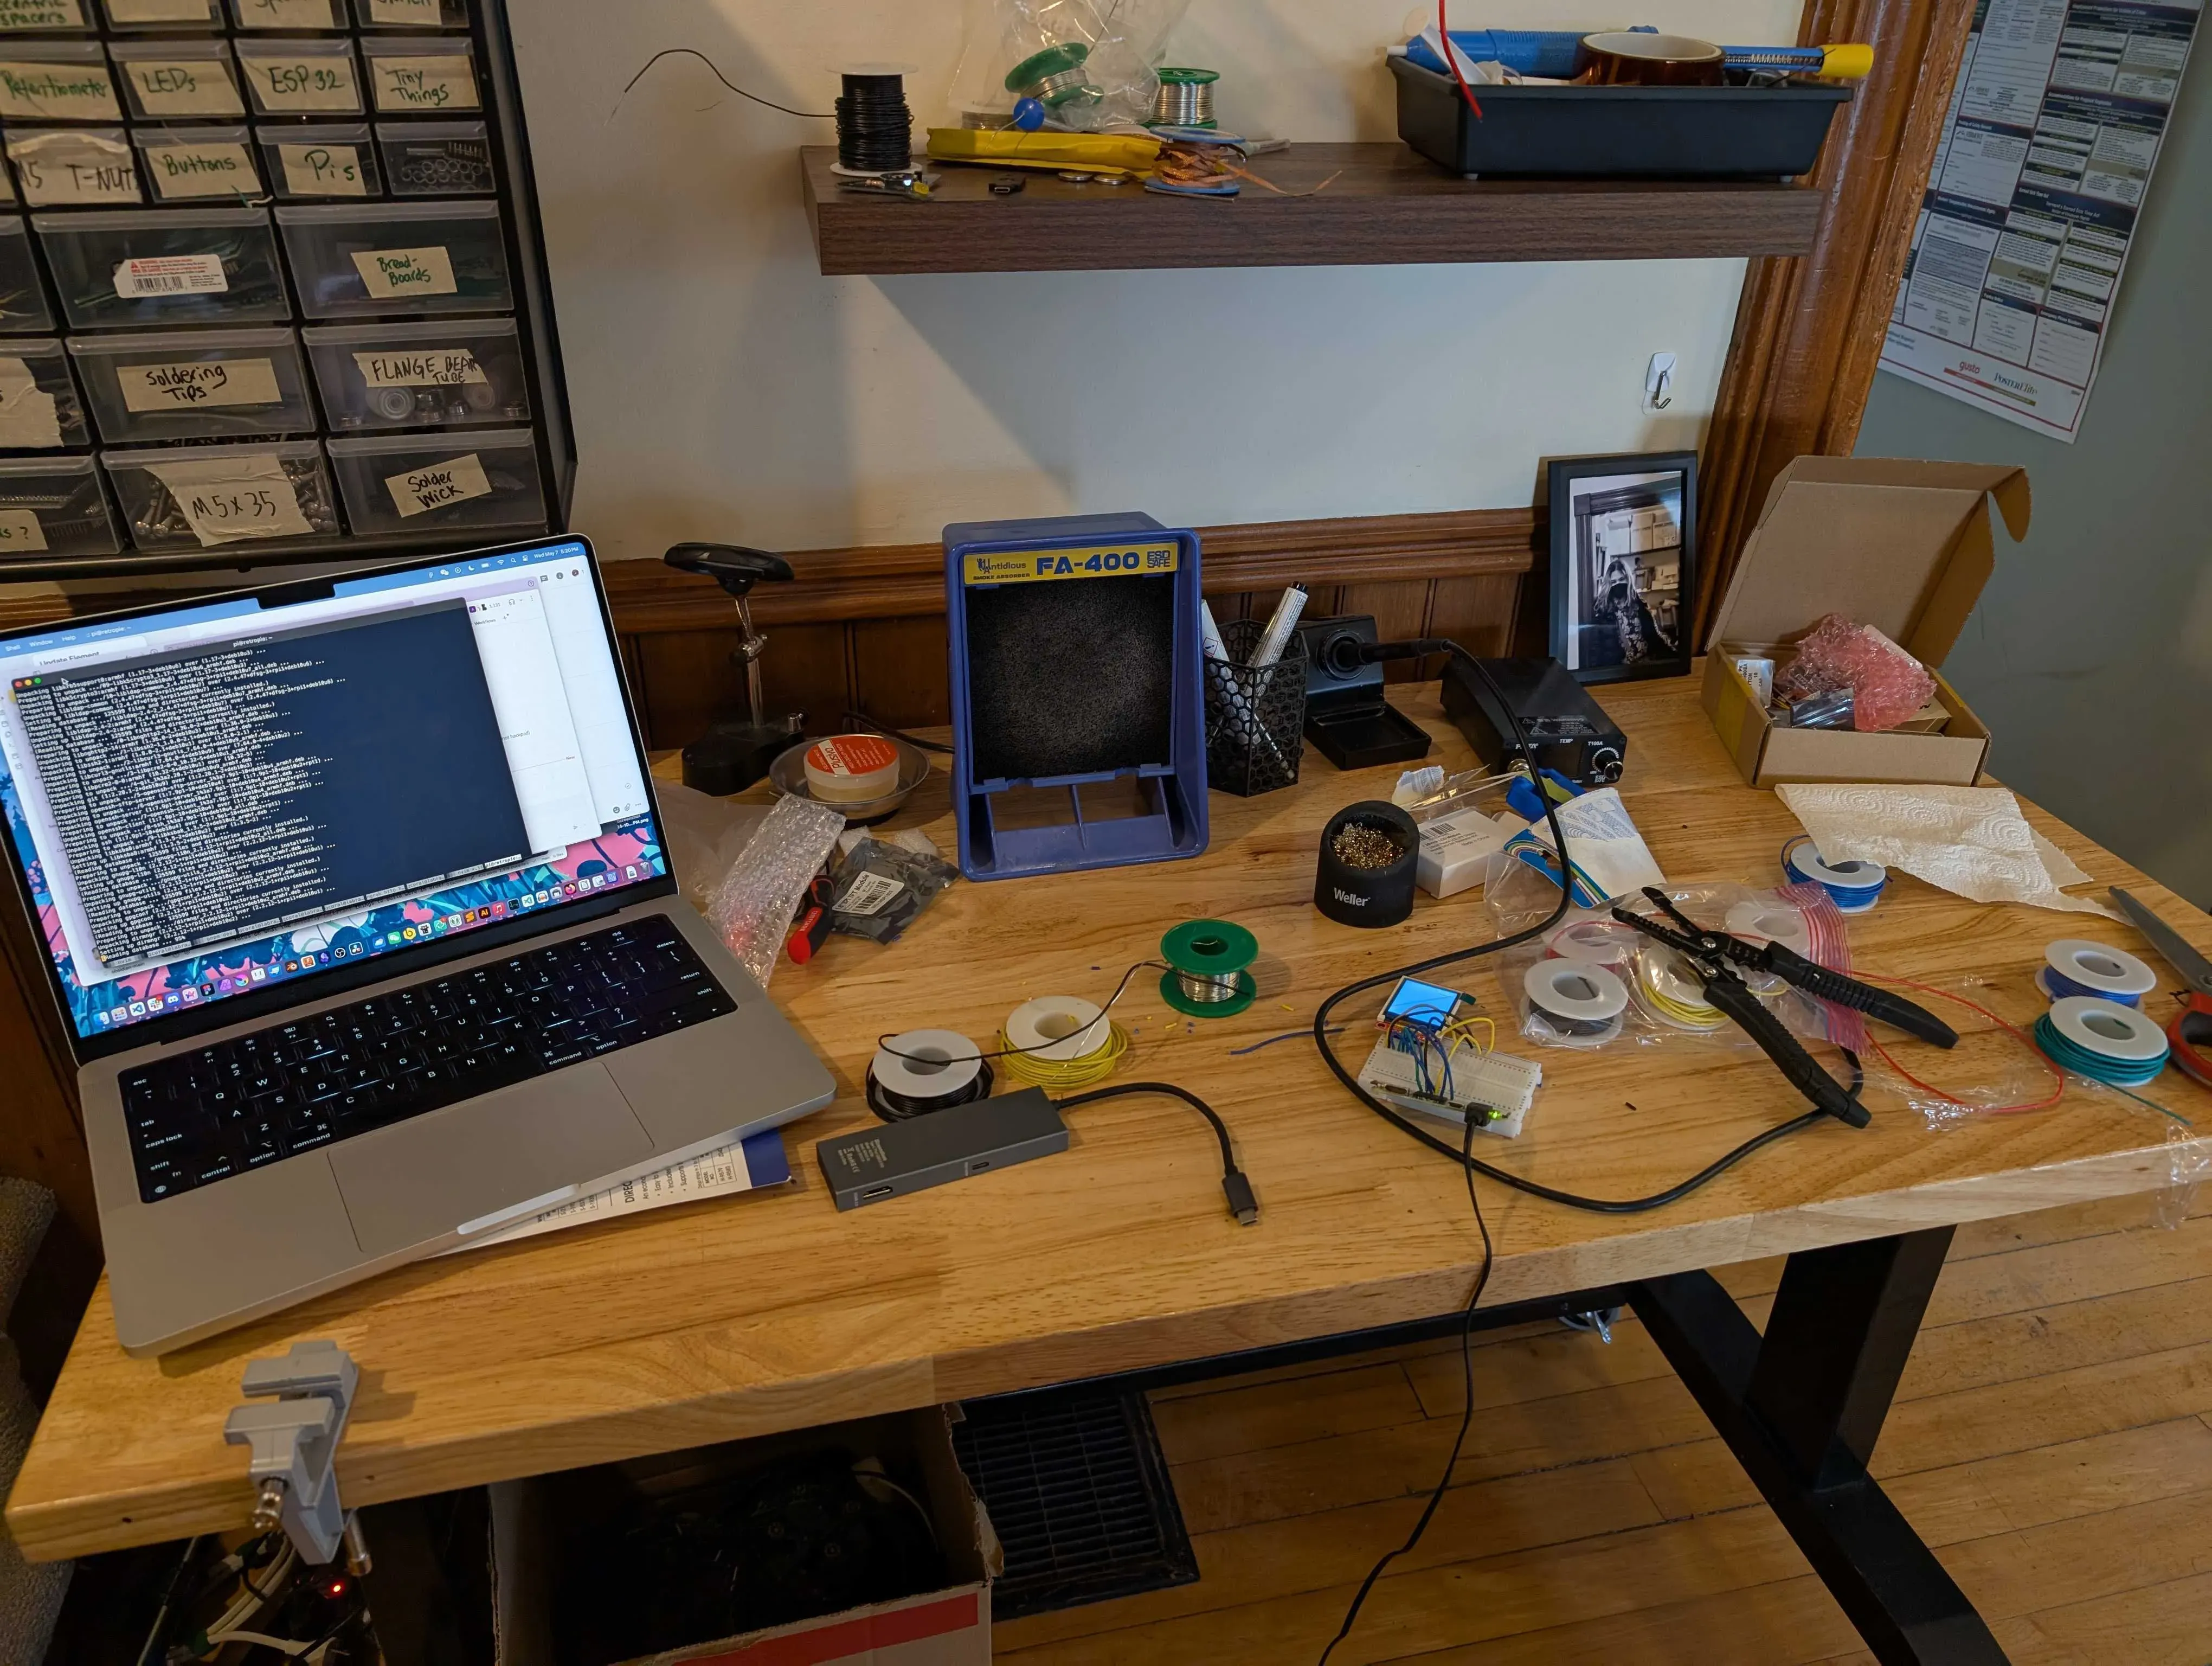
Everything. Screenshot your work at every meaningful step, not just when it's polished. Show the messy intermediates. Show the before and after when you fix something. Same goes for photos when you're working on physical builds.
3. Make mistakes. Describe them. Fix them.
You will make mistakes. Footprints that are off, wiring that needs to be redone. Write about them, then fix them. A journal with no mistakes is a manual, not a journal.
Art and Asset Hours
Many projects log art, design, and asset hours through journals: sprite art, UI mockups, music, 3D models, level design, and so on. These hours count toward your approved total alongside your coding or build hours.
As a general rule, art and asset hours should not exceed roughly 40% of your project's total approved hours. Reviewers can grant exceptions when the art is exceptionally high quality and clearly elevates the project, but the bar for an exception is real polish, original work, and intermediates documented in your journal entries. Quick sketches, generic stock assets, and AI-generated art won't earn the exception.
Record a timelapse for art work
The most reliable way to back up art and asset hours is a timelapse of the work. Lapse is purpose-built for this and works great for digital art, Figma, music production, and similar work. You can also screen-record manually if you prefer.
When you log the journal entry, include a link to the timelapse video so reviewers can verify the hours. Either upload it to YouTube (unlisted is fine) and paste the link, or host it on a CDN or file storage and link the playable URL. Include the link directly in the journal text so the reviewer doesn't have to dig for it.
If your project is art-heavy by nature and you want every hour counted, make the journals show it: references, iterations, before and after shots, the timelapse link, and a clear thought process. The same standard from "Explain your decisions, not just your actions" applies.
Do's and Don'ts
| Do | Don't |
|---|---|
| Explain what you did, why you did it, and how | State only what you did without explaining why |
| Screenshot and document EVERYTHING | Have generic statements like "I wired it up" or "I did CAD" |
| Describe your mistakes | Show only the end product |
Examples
Bad Journal Entry
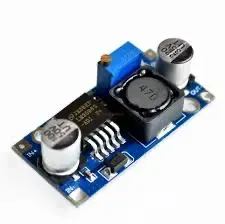
I added a buck converter and wired it up. I did CAD and added a case. I soldered everything together and it worked!
What's wrong with this:
- Why did you do this?
- What is the buck converter and case for?
- What features does the case have? Any special design choices?
- How did you test to make sure it worked?
- The image is generic and doesn't show what you did.
Good Journal Entry
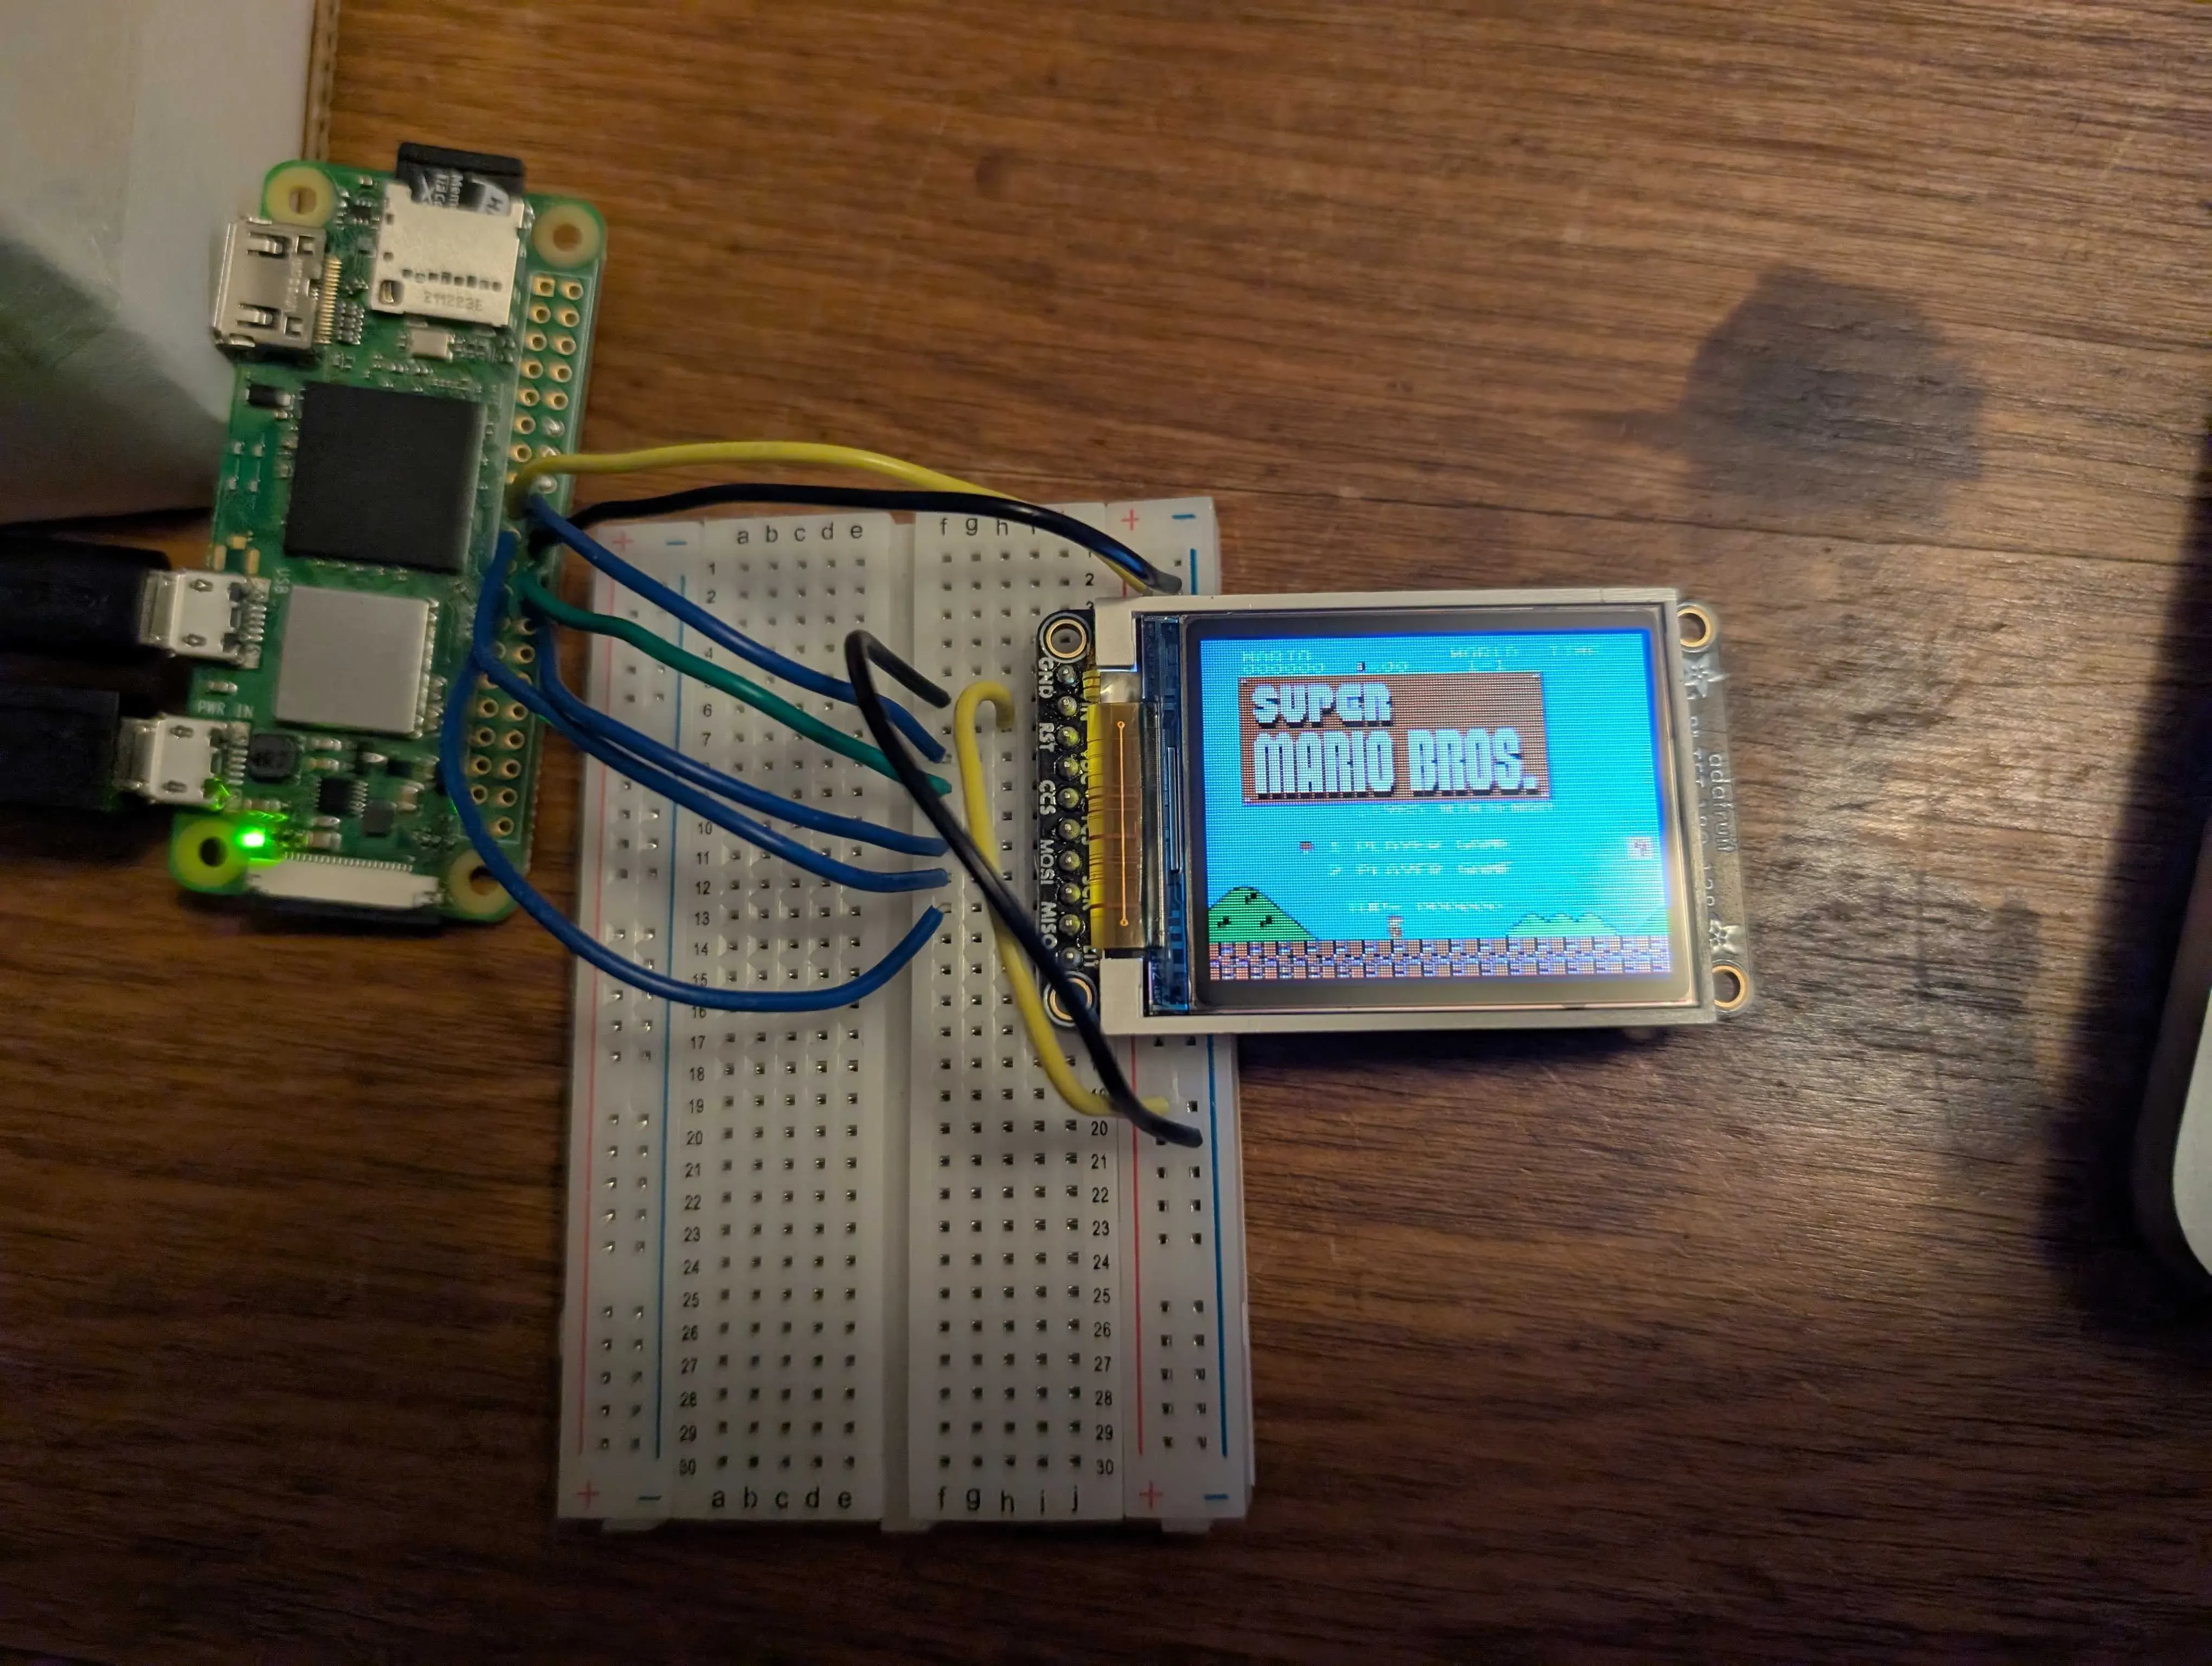
June 8: Got the screen to work!!
I got the raspberry pi to actually display on the LCD! I based the wiring off of another project originally, but they used a different display driver. That meant I had to figure out how to modify it for the display I was using instead.
The original project documented how the software was set up, which gave me a starting point. The main problem was figuring out the right kernel driver parameters for my specific display. A bunch of digging through GitHub repos eventually led me to the right driver file. Using that, I got video output working.
Key difference: The good example shows the thought process, the research chain, the mistakes, and the solution. It includes images at intermediate stages, not just the final result. It reads like a story, not a checklist.