On this page
Software Setup
Before you start building, you need two things on your computer: a way to manage your project files with Git, and a code editor to write code in. This page walks you through setting up both from scratch.
You MUST use Hackatime for every software project.
Hackatime is how we track the hours you spent coding. Without it, your software project cannot be submitted for review and you will not get credit for the work you did. Set it up on the next page before you start writing any code.
Hackatime only tracks editor time. Art, UI design, music, and other non-coding work for a software project go in a journal entry (or a Lapse timelapse). More on that here.
HC AI and other AI tools are fine for help. They are not fine for dumping a generated project on us. Your submission must be code you understand, with obvious polish, testing, and your own iteration on top. Heavy unpolished AI usage will be rejected. That includes unreviewed generated code, copy-pasted output, and AI-written journals. When in doubt, rewrite it in your own words. Journals must always be written by you, never by AI.
Setting Up Git with GitHub Desktop
Git is how you save versions of your code and share it online. Think of it like a save system for your project, except every save is permanent and you can go back to any previous version whenever you want. GitHub is the website where your code lives online. GitHub Desktop is an app that makes using Git easy without touching the command line.
1. Create a GitHub account
If you don't have one yet, sign up at github.com. Pick a username you're happy with, it'll show up on all your projects.
2. Download GitHub Desktop
Go to desktop.github.com and download the app. Install it, then sign in with your GitHub account when it asks.
3. Create a new repository
A repository (or "repo") is just a project folder that Git tracks. In GitHub Desktop, click File -> New Repository. Give it a name (your project name works fine), pick where to save it on your computer, and check "Initialize this repository with a README." Click Create Repository.
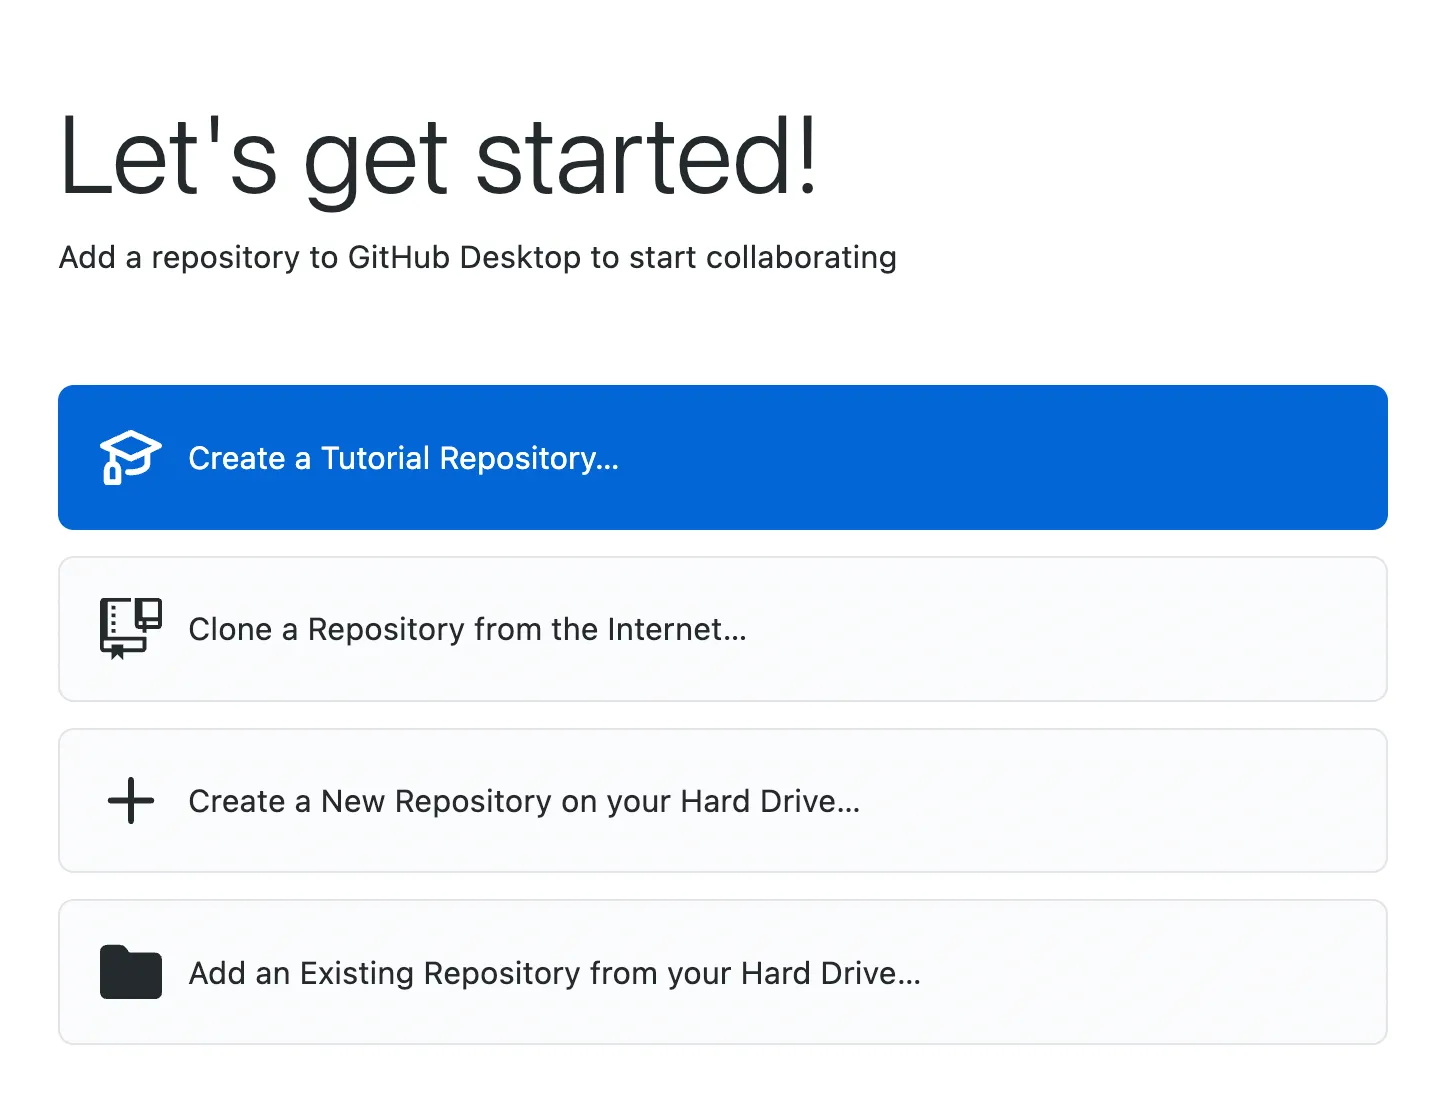
4. Explore the interface
After creating your repo, you'll see the main GitHub Desktop interface. The left side shows your changes, the middle shows file diffs, and the top bar lets you switch between repositories and branches.
Installing VS Code
VS Code (Visual Studio Code) is a free code editor made by Microsoft. It's what most people use, and it works on Windows, Mac, and Linux.
1. Download it
Go to code.visualstudio.com and click the big download button. It should detect your operating system automatically. Run the installer when it finishes downloading.
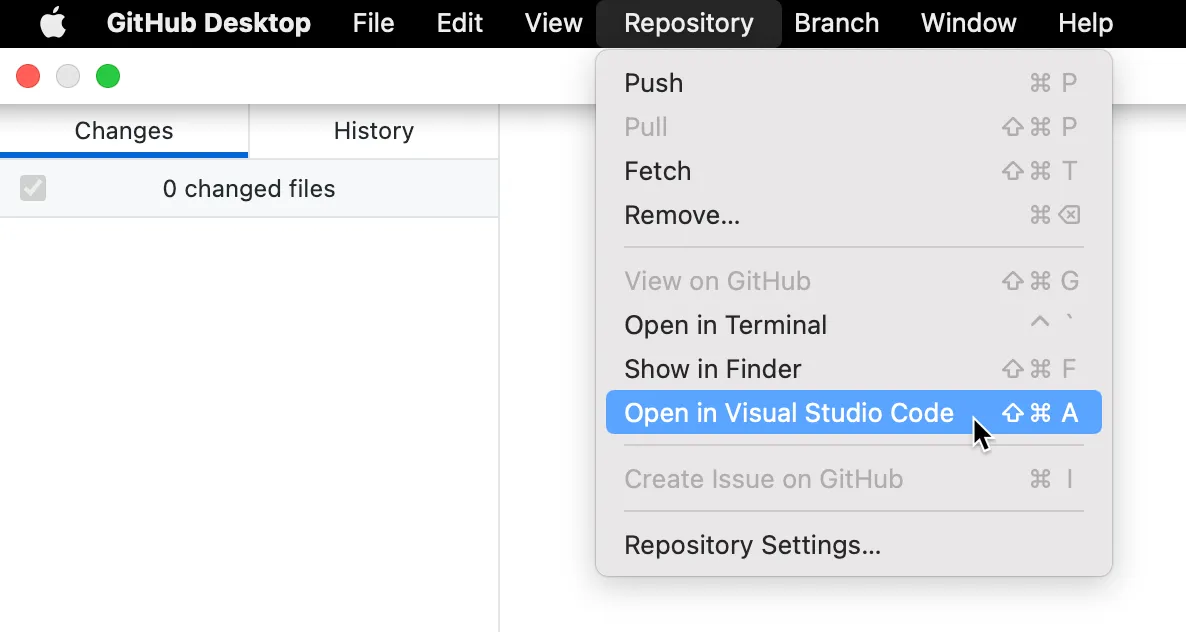
2. Open your repo in VS Code
Back in GitHub Desktop, click Repository -> Open in Visual Studio Code (or the "Open in Visual Studio Code" button). This opens the folder you just created directly in VS Code.
3. Get familiar with the layout
On the left you'll see a file explorer showing all the files in your folder. Click any file to open it in the editor. The bottom panel has a built-in terminal, you can open it with `Ctrl+`` (backtick key, top-left of your keyboard). This terminal is the same as your system terminal, just embedded inside VS Code.
4. Install extensions
Click the squares icon on the left sidebar (or press Ctrl+Shift+X) to open the Extensions panel. Search for and install anything relevant to your project. If you're building a website, look for "Live Server" (lets you preview your site in the browser). If you're using Python, grab the "Python" extension.
You'll also want to install the WakaTime extension here if you're working on a software project. That's what connects to Hackatime to track your coding time. See the Hackatime page for details.
The Workflow
Now that you have both set up, here's how they work together:
Making commits (saving your work)
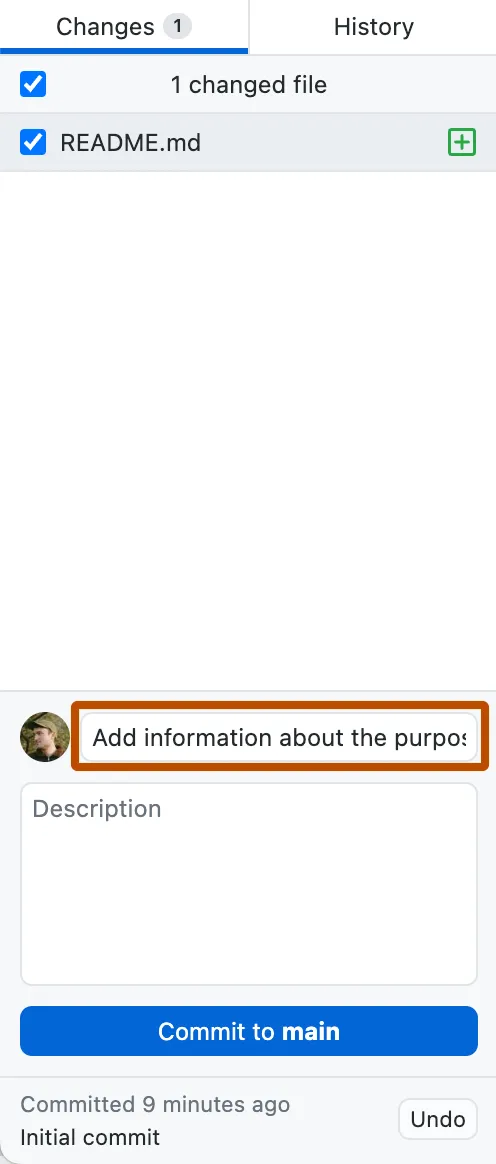
After you've made some changes to your code in VS Code, switch back to GitHub Desktop. You'll see a list of files that changed on the left side. The right side shows exactly what changed in each file, with green lines for additions and red for deletions.

At the bottom left, there's a "Summary" text field. Type a short description of what you changed (like "add homepage layout" or "fix button color") and click Commit to main. That saves a snapshot of your code.
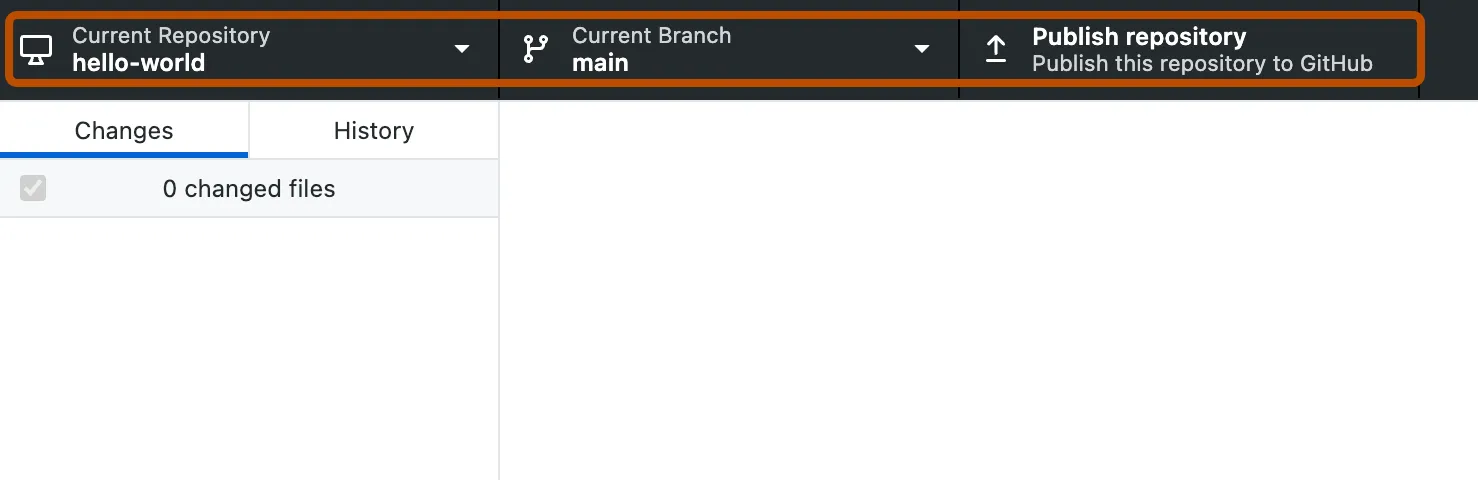
Pushing to GitHub
After committing, click Push origin at the top. This uploads your code to GitHub so it's saved online and reviewers can see it. If it's your first time pushing, it'll ask you to publish the repository first, just click the button and it'll handle everything.

The workflow is: write code in VS Code -> switch to GitHub Desktop -> write a short commit message -> click Commit -> click Push. Do this regularly as you work so your progress is always saved.
Cloning an Existing Repository
If you already have a repo on GitHub (or someone shared one with you), you can download it with GitHub Desktop. Click File -> Clone Repository, find the repo in the list (or paste the URL), pick where to save it, and click Clone. Then open it in VS Code the same way as before.